FR
FR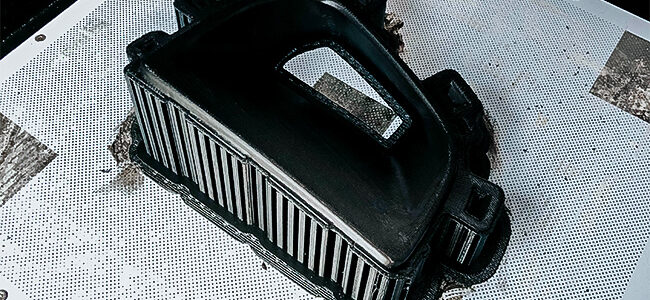
Real car enthusiasts know exactly what to do to make their vehicles stand out. They don’t shy away from DIY customization and would go to any lengths to execute such work. Typically, they look for cost-efficient tools that allow them to focus on their job and realize their vision easily. One of the technologies for car-tuning projects is additive manufacturing.
Here’s a story how 3D printing helped to customize a MINI Cooper owned by Indrė Zabielaitė from the 3D Creative team.
How to Reduce Costs with 3D Printing when Customizing Cars
Indrė has always been a huge fan of the MINI Cooper line, which she admires for having an exclusive look combined with the current automotive trends. Naturally, she knows all the design differences in consecutive editions that have been launched over time. And even though her MINI Cooper S is the apple of her eye, she appreciates the John Cooper Works (JCW) edition body kit much more. As she admits: “it’s more powerful, has more exterior design changes in comparison with other editions, and looks aesthetically better. So, everyone wants to have the JCW, or at least look like one.” Including Indrė.
Indrė’s MINI Cooper S.
The idea of upgrading her car came into Indrė’s mind last year, when she decided to replace the original bumper with the one coming from the JCW edition. But she was aware of two things that could stand in her way:
- The MINI Cooper JCW is a rare, hard-to-get model in Lithuania. The situation with used spare parts is even worse,
- The new JCW bumper’s cost amounted to a four-digit number of €, which was far beyond Indrė’s budget.
After some consideration, Indrė opted for a cheaper solution — having a used bumper delivered to Lithuania from Poland. The bumper she purchased, however, had some elements missing, like grills, intakes and the lower lip. Indrė didn’t get discouraged by that. Thanks to her experience as a 3D Creative employee, she knew exactly what to do: “I ordered some of those components from the MINI store here in Vilnius. But some of them, like the air intakes, were far too expensive for me, so I decided to produce them myself with the 3D printing equipment.”
Having access to her friend’s bumper which had the same intakes installed, Indrė knew she could successfully reproduce the intakes on a 3D printer and save money. She divided the whole work into three steps to 3D print the components for her car:
Workflow Step 1: 3D Scanning & Adjusting the Design
With the air intakes taken out of the borrowed bumper, Indrė began with 3D scanning. The whole session took her around 30 minutes, after which she acquired 3D models of the components. Even though the 3D scanner Indrė used offered up to 0.05 mm accuracy, she decided to slightly tweak the printable models in 3D modeling software: “I adjusted the models to make the locking loops a little bit thicker and stronger.”
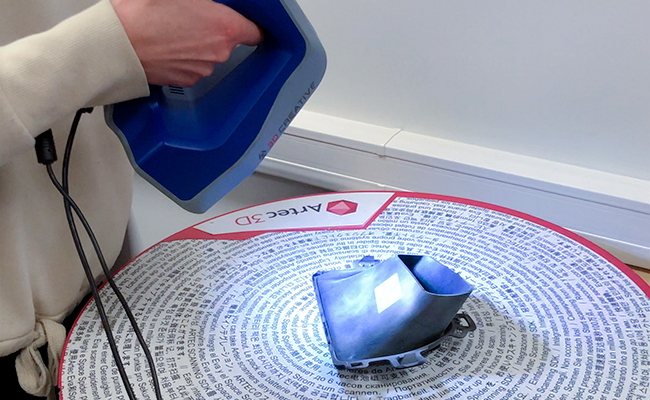
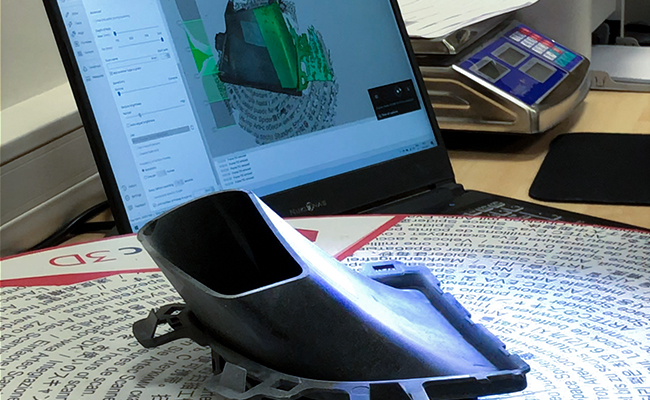
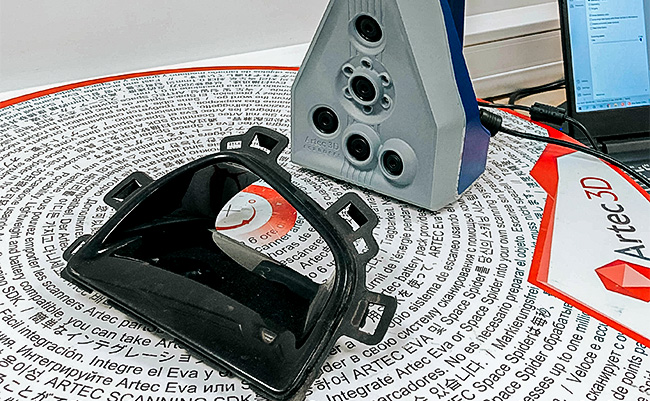
3D scanning session of the MINI Cooper air intake performed by Indré
Workflow Step 2: 3D Printing & Post-Processing
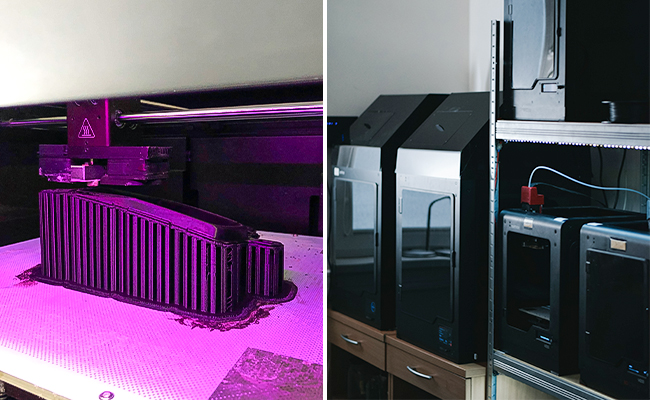
Once the 3D models were ready, Indrė moved on to the 3D printing the air intakes for her car. Because of the measurements she had to achieve — 188.42 x 141.41 x 75.45 mm — she chose Zortrax M300 Plus as the main machine for the air intakes. After a little more than two days of 3D printing (each intake was printed separately), Indrė prepared the parts for further post-processing. She ground the models’ surface down thoroughly and passed them on to the professional bodywork specialists. They painted the intakes so that they matched the whole bumper.
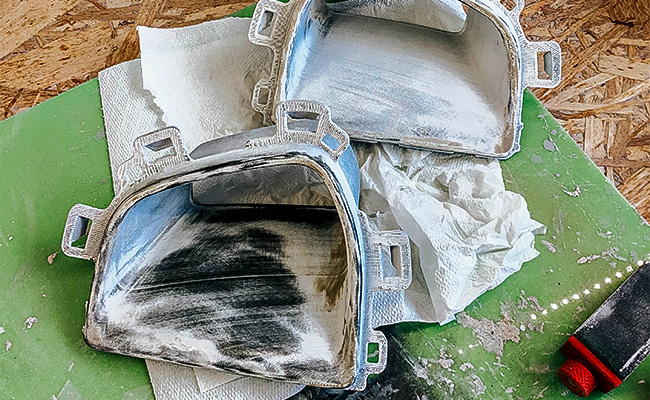
3D printed air intakes after grinding
Workflow Step 3: Bumper Assembly
Next, Indrė collected all the items, including the painted intakes and the elements she bought in the MINI store, in her garage and began to assemble the bumper in her car. “Everything came out like a dream. I was amazed by how all the components perfectly fitted,” Indrė underlines.
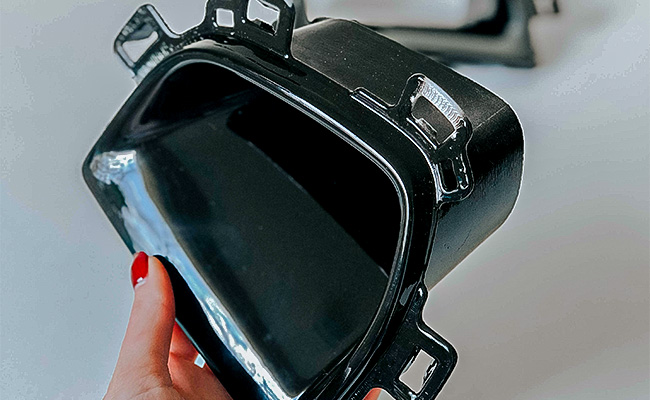
3D printed air intake painted by professional bodywork specialist.

Ready 3D printed air intakes installed in the bumper
Bumper assembly in Indré’s garage
For the final touch, she also installed 3D printed “spotlights” in the front grilles, which improved the overall esthetics of the bumper.
3D Printed & Durable Components for the Automotive
“Assembling the front bumper from separate parts instead of buying a complete one saved me 400€,” Indrė explains. In addition, the 3D printed car intakes proved to be durable enough to be used continuously for more than a year so far. It was possible thanks to highly durable, ABS-based Z-ULTRAT, which also delivered very smooth surfaces in the 3D prints.
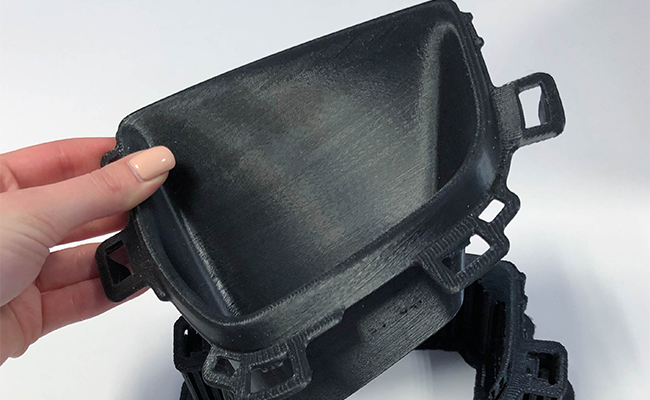
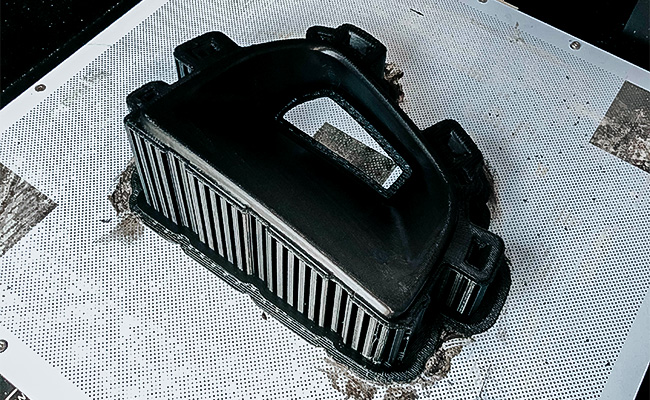
Raw quality of the 3D printed air intake made with an ABS-based Z-ULTRAT filament.
All of that was important in terms of post-processing as well as fitting the intakes in the slots in the bumper. “I use this car daily, even in winter and the 3D prints still look amazing. I’m very very satisfied with the quality!”, Indrė sums up.
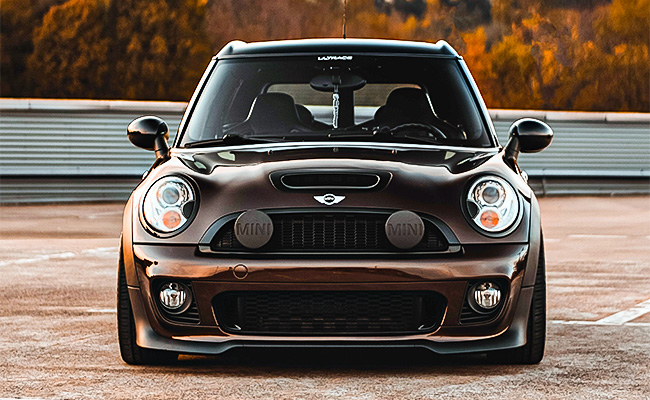
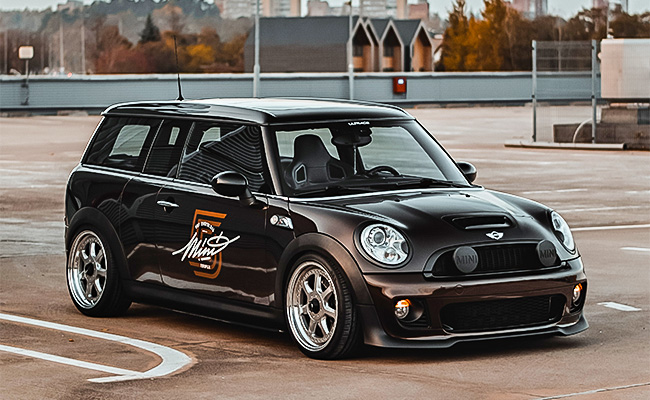
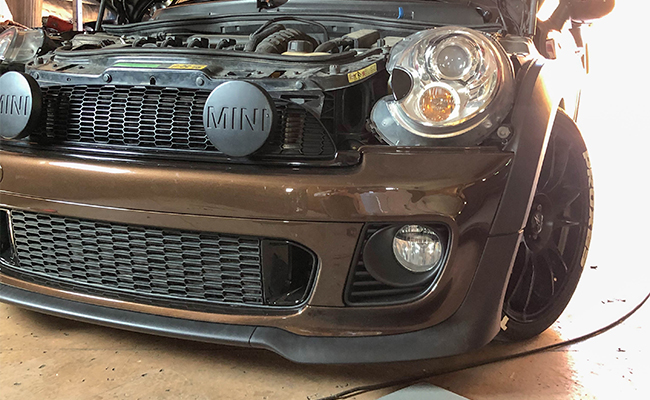
Indrė’s MINI Cooper after the upgrade with 3D printed components.
- Article from our partner Zortrax